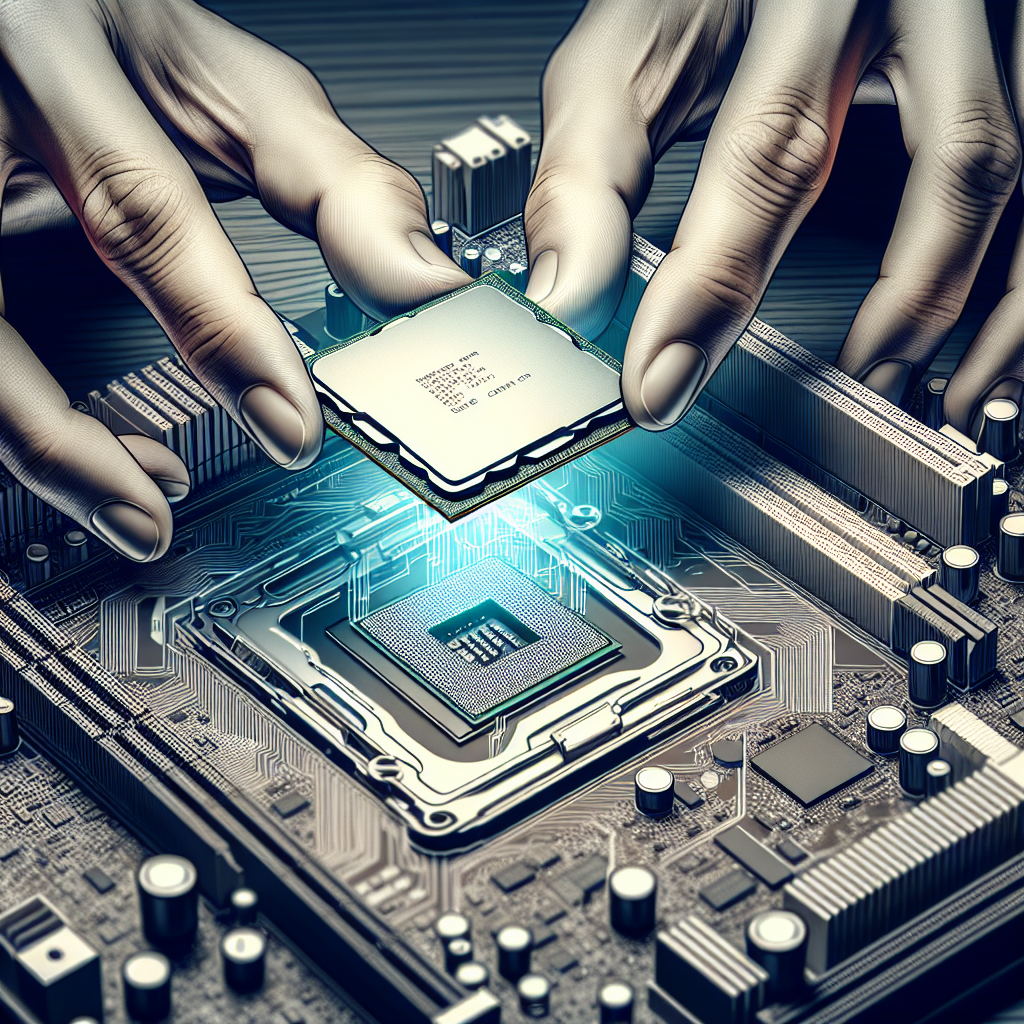
Installing a CPU on a motherboard is a critical step in building or upgrading a computer. Follow these steps to ensure a smooth and secure installation process.
Step-by-Step Guide to Installing a CPU
Here’s a step-by-step guide to help you install a CPU on a motherboard:
| Step | Description |
|---|---|
| Step 1 | Gather necessary tools and materials. |
| Step 2 | Prepare your workspace. |
| Step 3 | Open the CPU socket. |
| Step 4 | Insert the CPU. |
| Step 5 | Secure the CPU. |
| Step 6 | Apply thermal paste. |
| Step 7 | Install the CPU cooler. |
| Step 8 | Reconnect the motherboard’s power. |
Step 1: Gather Necessary Tools and Materials
- CPU
- Motherboard
- Thermal Paste (If not pre-applied)
- CPU Cooler
- Philips Head Screwdriver
- Antistatic Wrist Strap (Optional but Recommended)
Having all the tools and materials ready beforehand can help ensure a smooth installation process.
Step 2: Prepare Your Workspace
Set up a clean, well-lit workspace. Ensure you are grounded to avoid static electricity damaging your components. An antistatic wrist strap, connected to a grounded object, can be beneficial to prevent static discharges.
Step 3: Open the CPU Socket
Locate the CPU socket on your motherboard. Unlock the socket by gently pushing down and out on the retention arm. Lift the retention arm away from the socket to open the load plate.
Step 4: Insert the CPU
Take your CPU and align the notches or markers on the CPU with the corresponding points in the socket. Carefully place the CPU into the socket without applying excessive pressure. It should fit snugly into place.
Step 5: Secure the CPU
Once the CPU is correctly placed, lower the load plate and push the retention arm back into its original position to secure it.
Step 6: Apply Thermal Paste
Apply a small amount of thermal paste to the center of the CPU. If the paste is pre-applied on the cooler, you may skip this step. The amount should be roughly the size of a small pea.
Step 7: Install the CPU Cooler
Attach the CPU cooler over the CPU. Follow the manufacturer’s instructions for your specific cooler model. Make sure to connect the CPU cooler’s fan cable to the motherboard’s CPU fan header.
Step 8: Reconnect the Motherboard’s Power
After the CPU and cooler are installed, check and reconnect the motherboard’s power connections that were detached earlier.
Essential Tips and Precautions
- Handle with Care: Always hold the CPU by its edges to avoid touching the pins or surface.
- Follow Manufacturer Guidelines: Refer to the manufacturer’s installation guide for specific instructions.
- Check Compatibility: Ensure your CPU is compatible with your motherboard’s socket type.
- Use Correct Amount of Thermal Paste: Applying too much or too little thermal paste can affect cooling efficiency.
- Double-Check Connections: Ensure all connections are secure to prevent malfunctioning.
Troubleshooting Common Issues
- PC Won’t Boot: Re-check that the CPU and cooler are properly installed and all power connections are secure.
- Overheating Issues: Ensure thermal paste is correctly applied and the cooler is properly mounted.
- Compatibility Issues: Double-check that the CPU and motherboard are compatible in terms of socket type and BIOS version.
Successfully installing a CPU on a motherboard involves careful preparation, attention to detail, and following the correct steps. By adhering to the guidelines provided, you can ensure a successful and safe installation, paving the way for a fully functional computer.

